Run ComfyUI Workflows via API on Replicate
Learn how to deploy your ComfyUI workflows to Replicate and executethem through API calls, making your image generation models available within applications and other users.
Introduction
ComfyUI is a powerful node-based interface that lets you create AI image generation workflows. In an older post, I explained how to run ComfyUI on Google Cloud.
This post goes a step further and explains how to deploy a ComfyUI workflow to Replicate?Replicate is a platform for running machine learning models on the cloud and access it using API calls. This is useful if you want to build an image generation workflow and make it available within an application.
Step 1: Install Cog
Cog is Replicate's tool for packaging machine learning models. It works on Linux and MacOS, but does not currently support Windows. I used a Linux VM on Google Cloud but feel free to use whatever setup you're most comfortable with.
Start by installing Cog:
sudo curl -o /usr/local/bin/cog -L https://github.com/replicate/cog/releases/latest/download/cog_`uname -s`_`uname -m`
sudo chmod +x /usr/local/bin/cog
Step 2: Install Docker
Since Cog relies on Docker, we also need to install Docker:
# Update package index and install dependencies
sudo apt update
sudo apt install ca-certificates curl gnupg lsb-release

# Add Docker's official GPG key
sudo mkdir -p /etc/apt/keyrings
curl -fsSL https://download.docker.com/linux/ubuntu/gpg | sudo gpg --dearmor -o /etc/apt/keyrings/docker.gpg

# Setup Docker repository
echo \
  "deb [arch=$(dpkg --print-architecture) signed-by=/etc/apt/keyrings/docker.gpg] \
  https://download.docker.com/linux/ubuntu \
  $(lsb_release -cs) stable" | sudo tee /etc/apt/sources.list.d/docker.list > /dev/null

# Update package index again
sudo apt-get update

# Install Docker Engine
sudo apt install docker-ce docker-ce-cli containerd.io docker-buildx-plugin docker-compose-plugin

# Verify installation
sudo docker run hello-world
Step 3: Setup Template Repo
Clone the cog-comfyui repository. This is a helpful template repository to which a custom ComfyUI workflow can be added. This template is made by a staff member of Replicate, so it's a reliable starting point.
# Clone the repository
git clone https://github.com/fofr/cog-comfyui.git

# Prepare the template
cd cog-comfyui
python scripts/prepare_template.py

# Clone the ComfyUI repository inside the cog-comfyui folder
git clone https://github.com/comfyanonymous/ComfyUI.git
Step 4: Add Your Workflow
Save your ComfyUI workflow in two formats:
workflow_api.json- API version for deploymentworkflow_ui.json- optional UI version for reference
Place both files in the cog-comfyui folder.
Below is an example of a workflow_api.json file:
{
  "3": {
    "inputs": {
      "seed": 759731496263916,
      "steps": 20,
      "cfg": 8,
      "sampler_name": "euler",
      "scheduler": "normal",
      "denoise": 1,
      "model": [
        "4",
        0
      ],
      "positive": [
        "6",
        0
      ],
      "negative": [
        "7",
        0
      ],
      "latent_image": [
        "5",
        0
      ]
    },
    "class_type": "KSampler",
    "_meta": {
      "title": "KSampler"
    }
  },
  "4": {
    "inputs": {
      "ckpt_name": "sd_xl_base_1.0.safetensors"
    },
    "class_type": "CheckpointLoaderSimple",
    "_meta": {
      "title": "Load Checkpoint"
    }
  },
  "5": {
    "inputs": {
      "width": 512,
      "height": 512,
      "batch_size": 1
    },
    "class_type": "EmptyLatentImage",
    "_meta": {
      "title": "Empty Latent Image"
    }
  },
  "6": {
    "inputs": {
      "text": "beautiful scenery nature glass bottle landscape, , purple galaxy bottle,",
      "clip": [
        "4",
        1
      ]
    },
    "class_type": "CLIPTextEncode",
    "_meta": {
      "title": "CLIP Text Encode (Prompt)"
    }
  },
  "7": {
    "inputs": {
      "text": "text, watermark",
      "clip": [
        "4",
        1
      ]
    },
    "class_type": "CLIPTextEncode",
    "_meta": {
      "title": "CLIP Text Encode (Prompt)"
    }
  },
  "8": {
    "inputs": {
      "samples": [
        "3",
        0
      ],
      "vae": [
        "4",
        2
      ]
    },
    "class_type": "VAEDecode",
    "_meta": {
      "title": "VAE Decode"
    }
  },
  "9": {
    "inputs": {
      "filename_prefix": "ComfyUI",
      "images": [
        "8",
        0
      ]
    },
    "class_type": "SaveImage",
    "_meta": {
      "title": "Save Image"
    }
  }
}
Some of the lines in the code above are highlighted as they are relevant for the next step.
Step 5: Modify predict.py
Update the predict.py file in the template to handle the workflow's input parameters in the workflow_api.json file.
Here's an example modification based on the above workflow_api.json file:
def update_workflow(self, workflow, **kwargs):
    # Update positive prompt
    positive_prompt = workflow["6"]["inputs"]
    positive_prompt["text"] = kwargs["prompt"]

    # Update negative prompt
    negative_prompt = workflow["7"]["inputs"]
    negative_prompt["text"] = kwargs["negative_prompt"]

    # Update seed in KSampler
    sampler = workflow["3"]["inputs"]
    sampler["seed"] = kwargs["seed"]
And update the predict function:
def predict(
    self,
    prompt: str = Input(
        default="",
    ),
    negative_prompt: str = Input(
        description="Things you do not want to see in your image",
        default="",
    ),
    output_format: str = optimise_images.predict_output_format(),
    output_quality: int = optimise_images.predict_output_quality(),
    seed: int = seed_helper.predict_seed(),
) -> List[Path]:
    # ...
    self.update_workflow(
        workflow,
        prompt=prompt,
        negative_prompt=negative_prompt,
        seed=seed,
    )
    # ...
Step 6: Deploy to Replicate
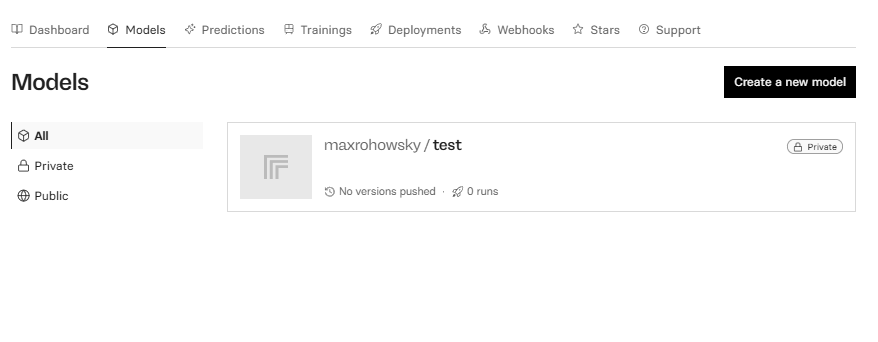
The final step is to deploy your model to Replicate. To do this, start by going to the models overview page and click on the "Create model" button: "Create a new model". Next, walk through the steps to create a new model.
If you get stuck in the process, visit the Replicate documentation.
Finally, you can push your model to Replicate by running the following command:
sudo cog login
sudo cog push r8.im/your-username/your-model-name
Afterwards, your model will be available on Replicate where you can play around with it. In addition, you will also be able to use it via API.
Optional: Add Custom Nodes
If your workflow uses custom nodes, add the repository URL and commit hash to the custom_nodes.json file:
[
  {
    "repo": "https://github.com/jamesWalker55/comfyui-various",
    "commit": "cc66b62",
    "notes": "Optional notes about the node"
  }
  // Add more custom nodes as needed
]
To install the custom nodes, run:
python scripts/install_custom_nodes.py
When you add custom nodes, check if any additional dependencies are required in the requirements.txt file
of the custom notes repository. If so, add them to the cog.yaml file of your project.
Optional: Add Custom Models
If your models aren't included in the default weights.json file, you can add them sepparately. Here's a video tutorial on how to do this.